3 Minutes Read
Updated:
This guide explains how our Zapier WebHook can help companies when they run a bounty program at HackenProof.
Please note! It’s Zapier Webhook integration, not Zappier App
As you know, HackenProof uses a ticket-based system that has different stages of reports processing.
Once you connect your bug bounty program to your Zapier account, the bot will send notifications about the following:
- new reports (that includes the Program name, Report title, Report severity, and Report URL)
Step 1. Generate your ZapierHook URL
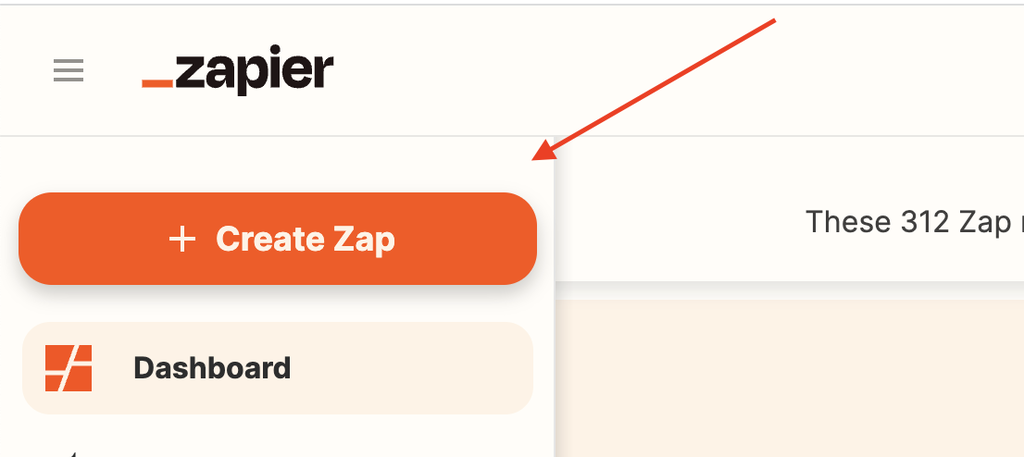
- Navigate to the Zapier dashboard
- Create a new Zap
- Choose Trigger: Webhooks by Zapier
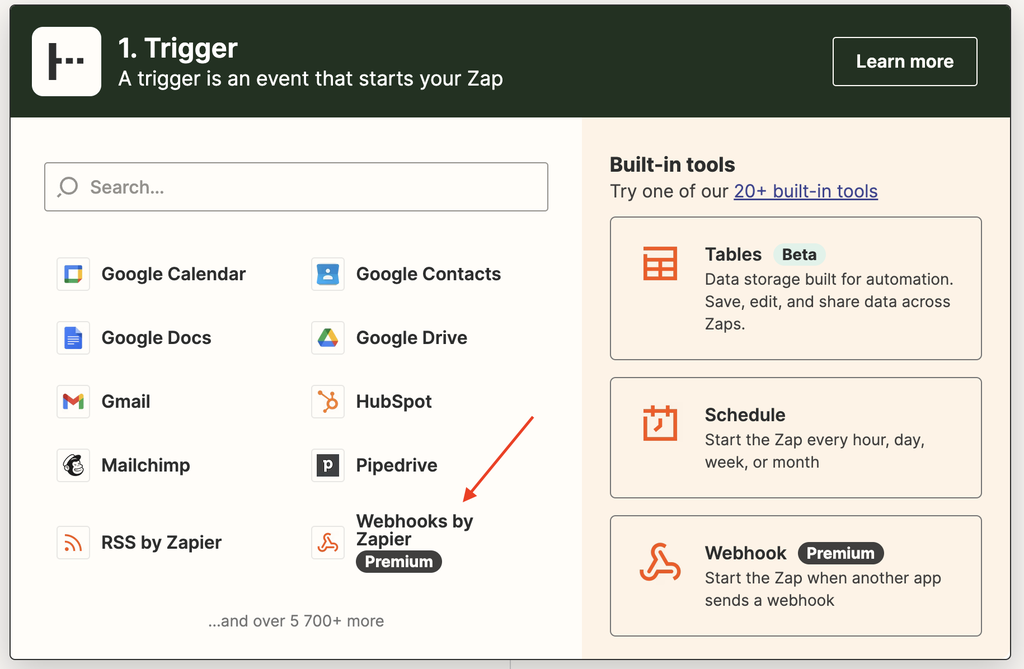
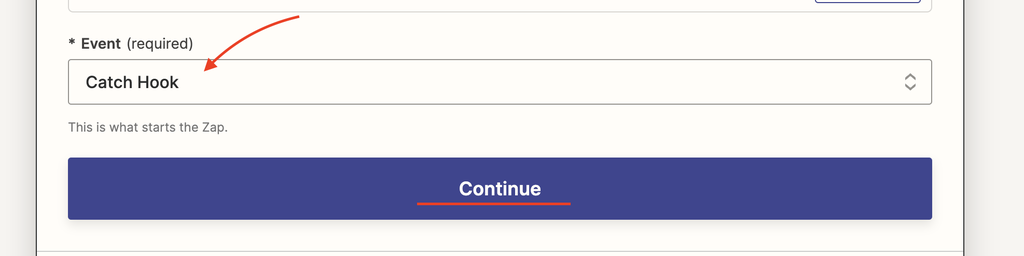
- Choose the Event type: Catch Hook

- Press the Continue button:
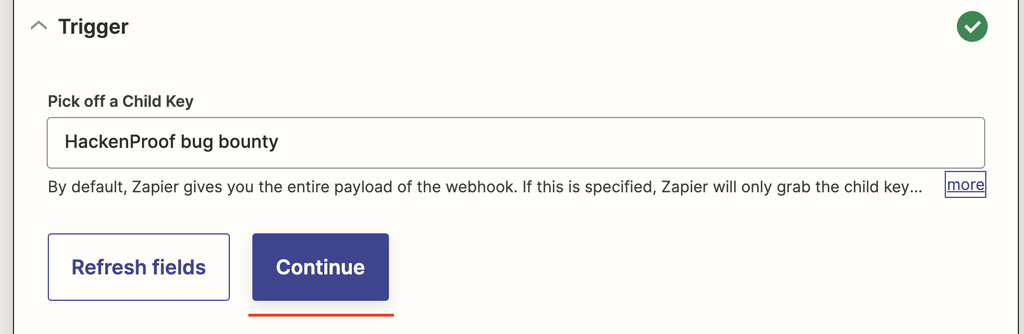
- Pick off a Child Key and press Continue. Here you can name it as you wish.
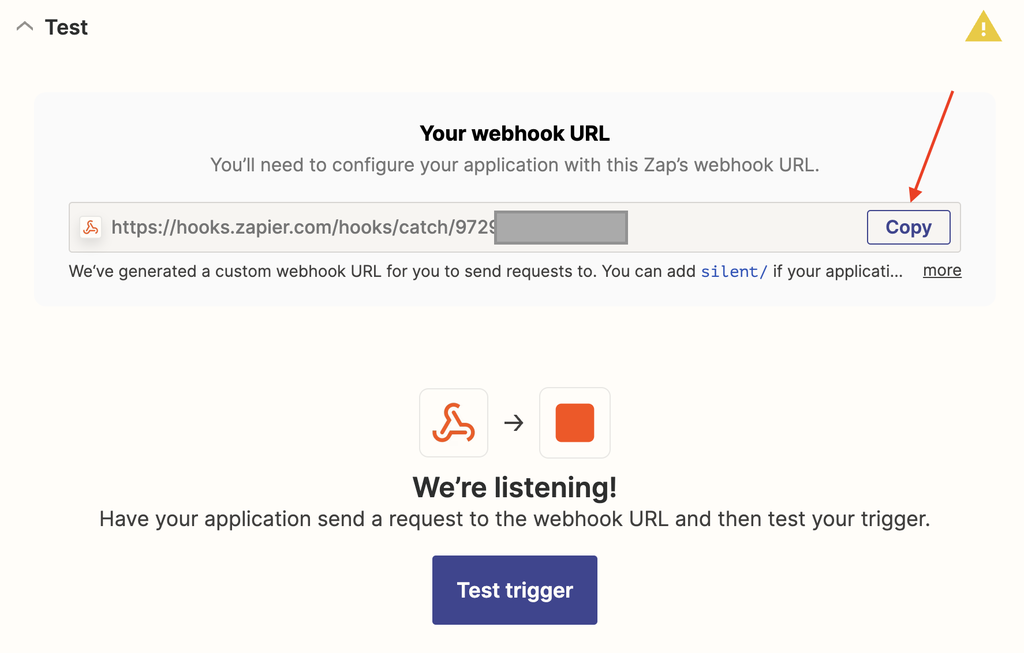
- Copy the ZapierHook URL:
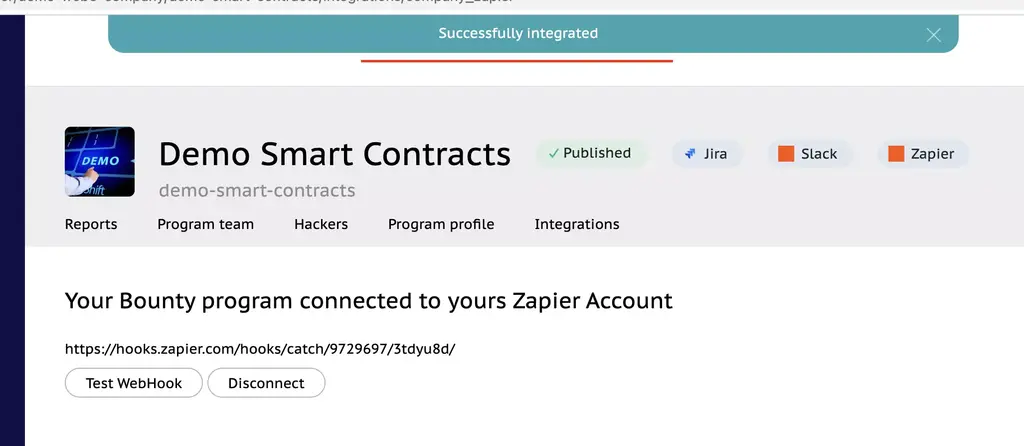
Step 2. Add the copied ZapierHook URL to HackenProof:
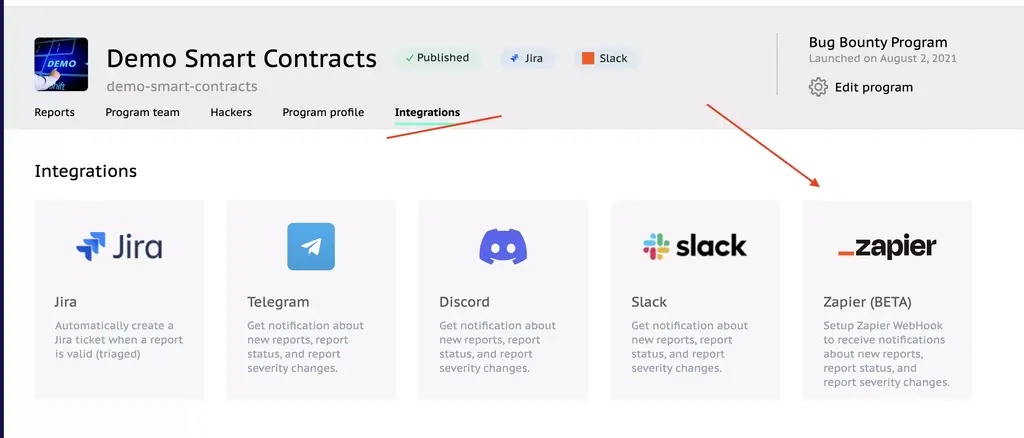
- Navigate to your Program integration section and choose Zapier:
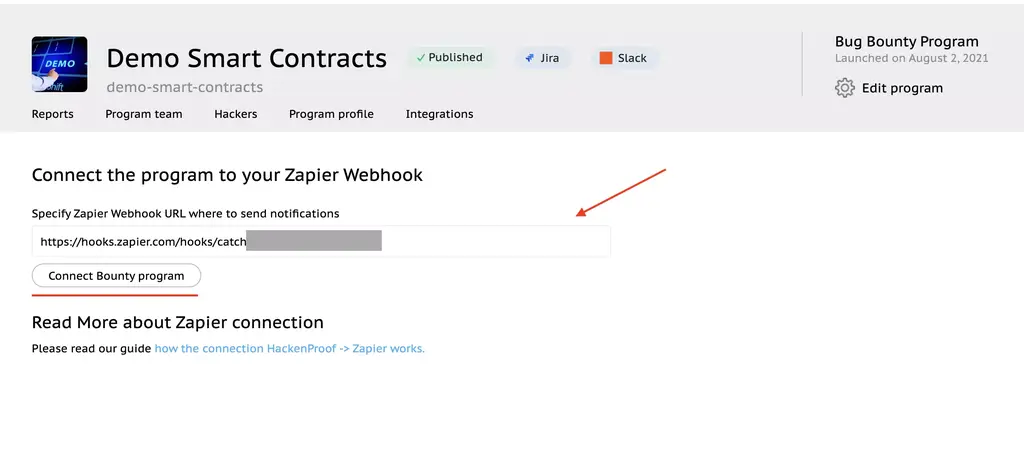
- Paste your copied ZapierHook URL and press Connect button
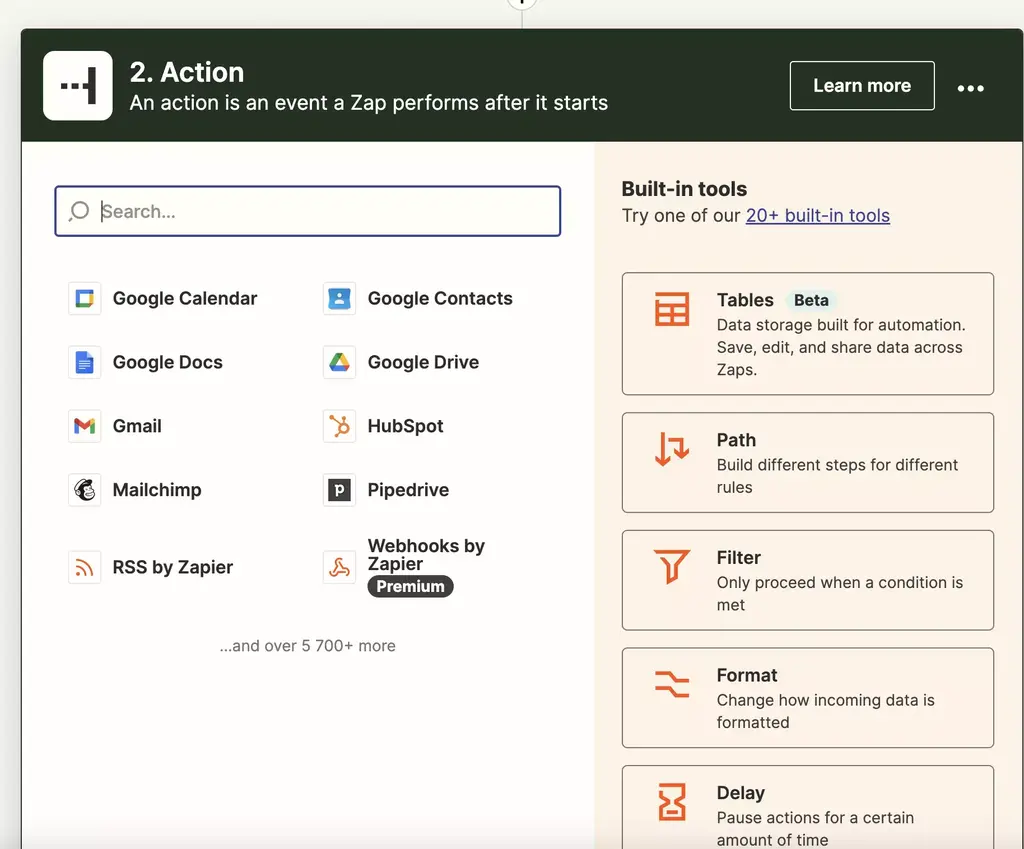
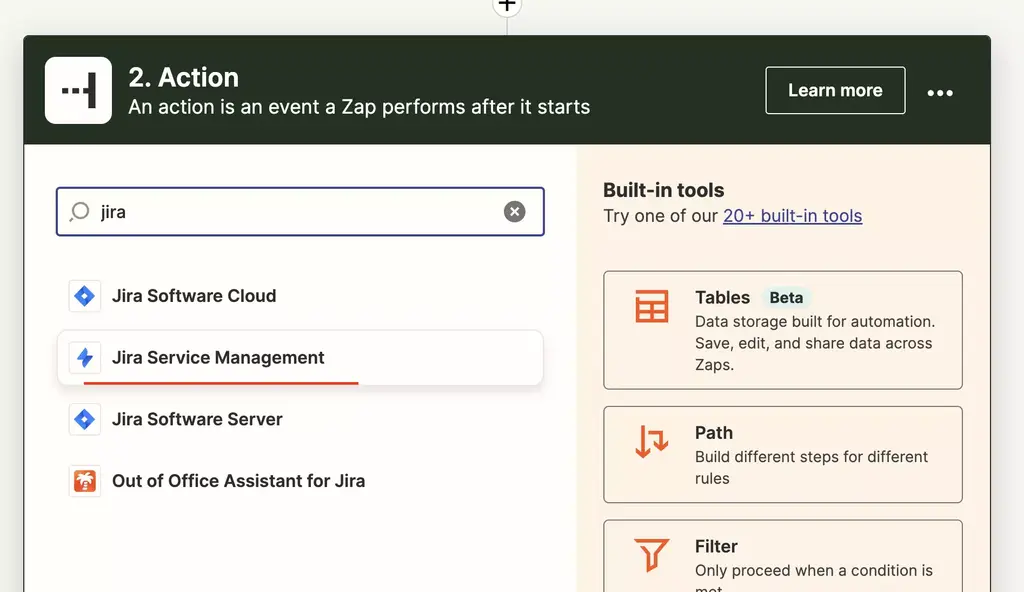
Step 3. Connect your Jira Service Management App
- in this sample, we will use Jira Service Management
- So now you need to find your App
- in this sample, we will use Jira Service Management
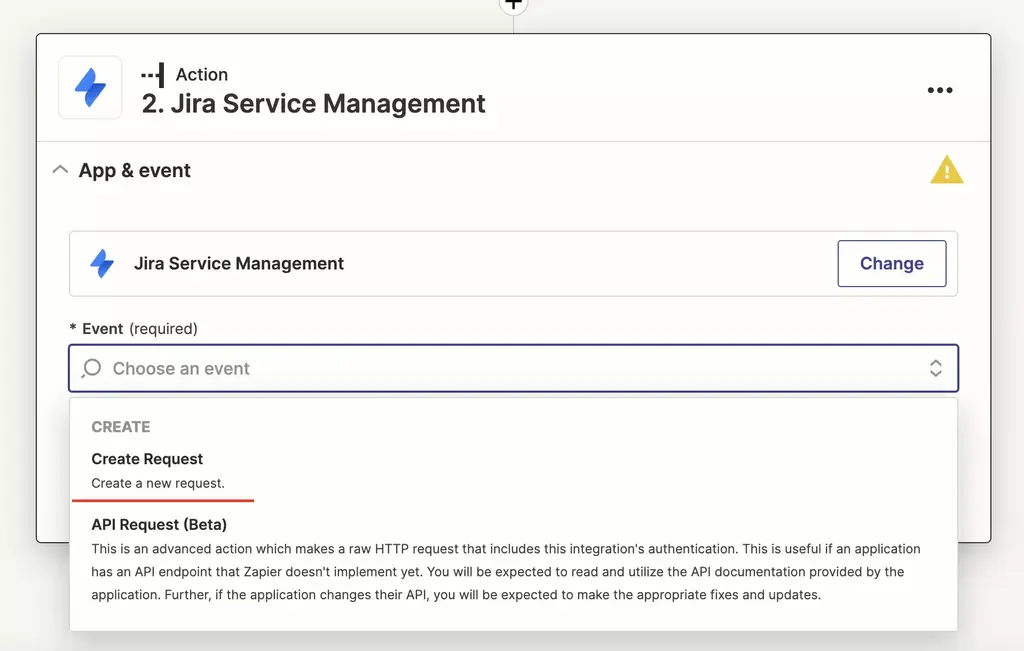
- chose event type Create Request and press the Continue button
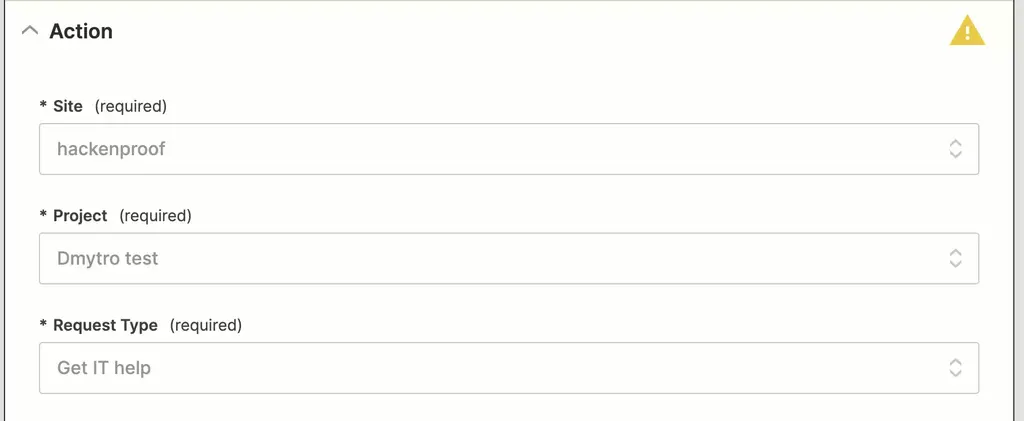
- Now specify data about your Jira project in the Site and Projects fields (data in the screenshots is just an example). Project name – is your Jira project where you want to send reports
- Choose Request Type, for example, GET IT Help
- Specify Summary: you can use Report Title as a summary
- And add a Description that can include a few fields at the same time. Also, you can add some pre-description for each field to understand it in Jira later:
- Program name:
- Report ID:
- Report URL:
- Report Severity:
- Report Status:
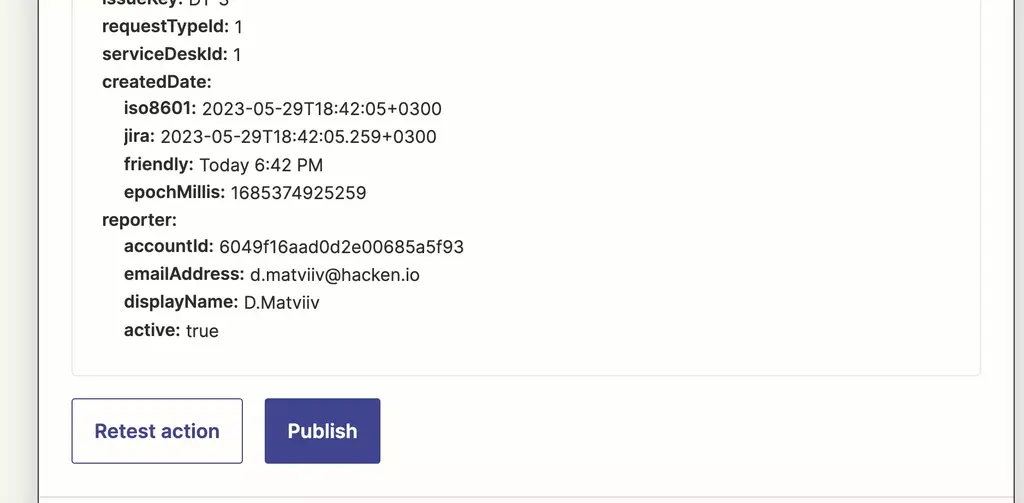
- Now, test your action and make your Zap published
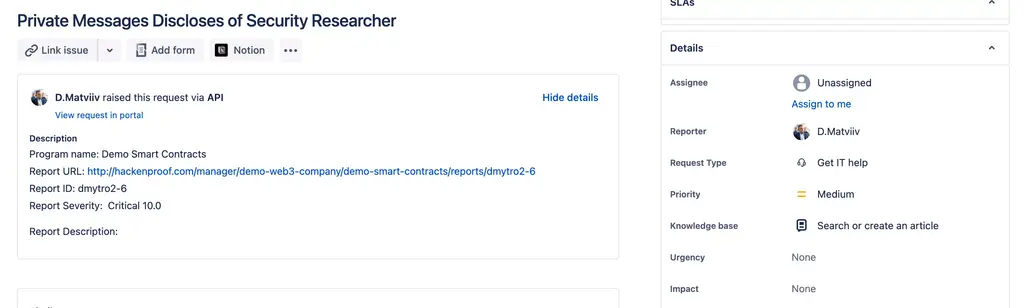
- Check your Jira Service Management project for test ticket:
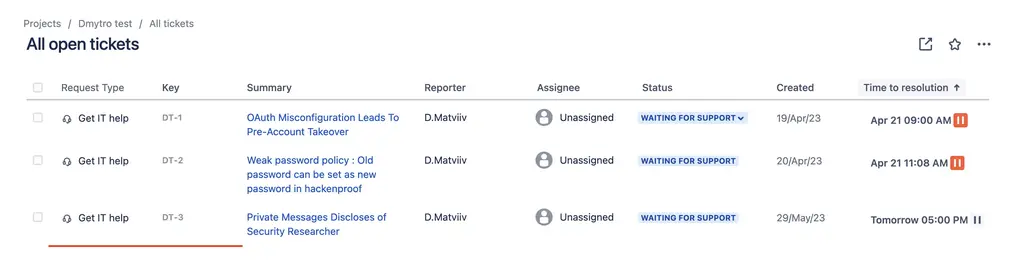
- here is how the report looks like inside: